This dulce de leche tiramisu is super easy to make, and it’s for sure a crowd-pleaser. I dare to say it’s even more delicious than regular tiramisu. I made this dulce de leche tiramisu with mascarpone, dulce de leche and whipping cream. I layered the dulce de leche mascarpone cream with cocoa powder and ladyfingers soaked in coffee syrup. I topped the tiramisu with dulce de leche whipped cream and espresso flavor chocolate pieces. It was simply delish!
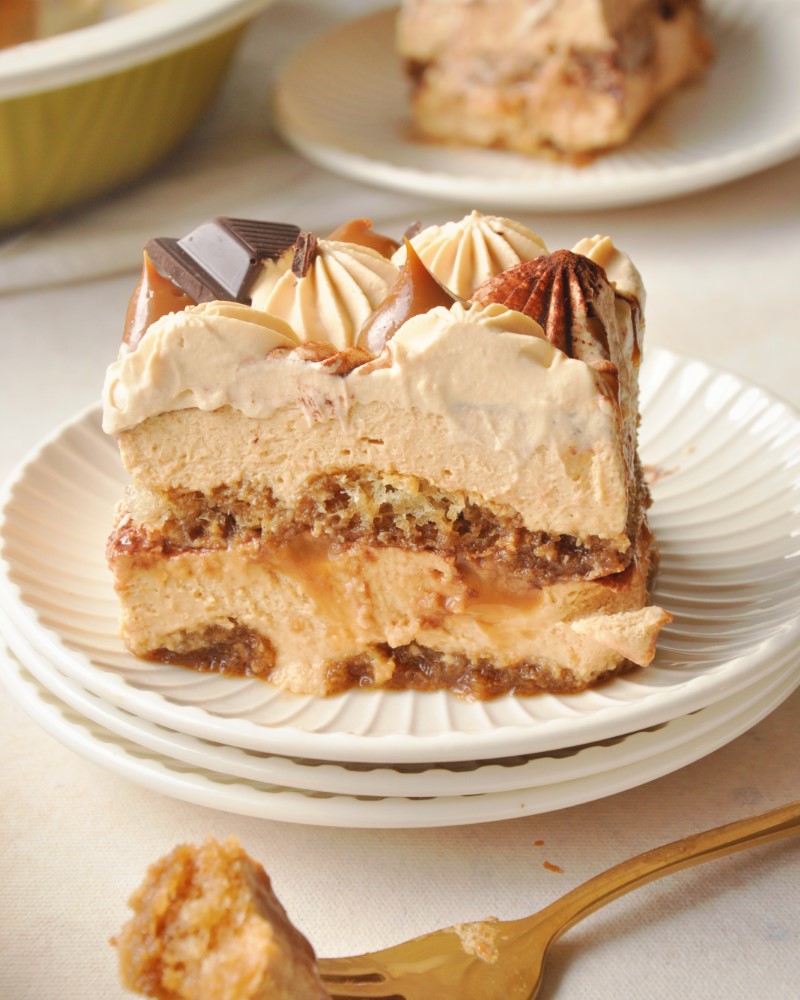
My mom used to make this dessert, only she made a cream made of whipping cream and dulce de leche with no mascarpone, and she also didn’t call it tiramisu. I grabbed the idea and made my recipe out of it. I love how simple this recipe can be since we don’t need to bake, and we don’t use eggs for the cream. Besides, it’s delicate and delicious. Don’t miss out on this recipe!
How to make dulce de leche tiramisu?
These are roughly the steps we need to follow to make this recipe:
- Make the coffee syrup and let it warm
- Make the dulce de leche and mascarpone cream
- Build the tiramisu layering cream and ladyfingers and refrigerate
- Whip dulce de leche cream and pipe dollops on the tiramisu
- Serve or refrigerate
Does Dulce de Leche Tiramisu contain gelatin?
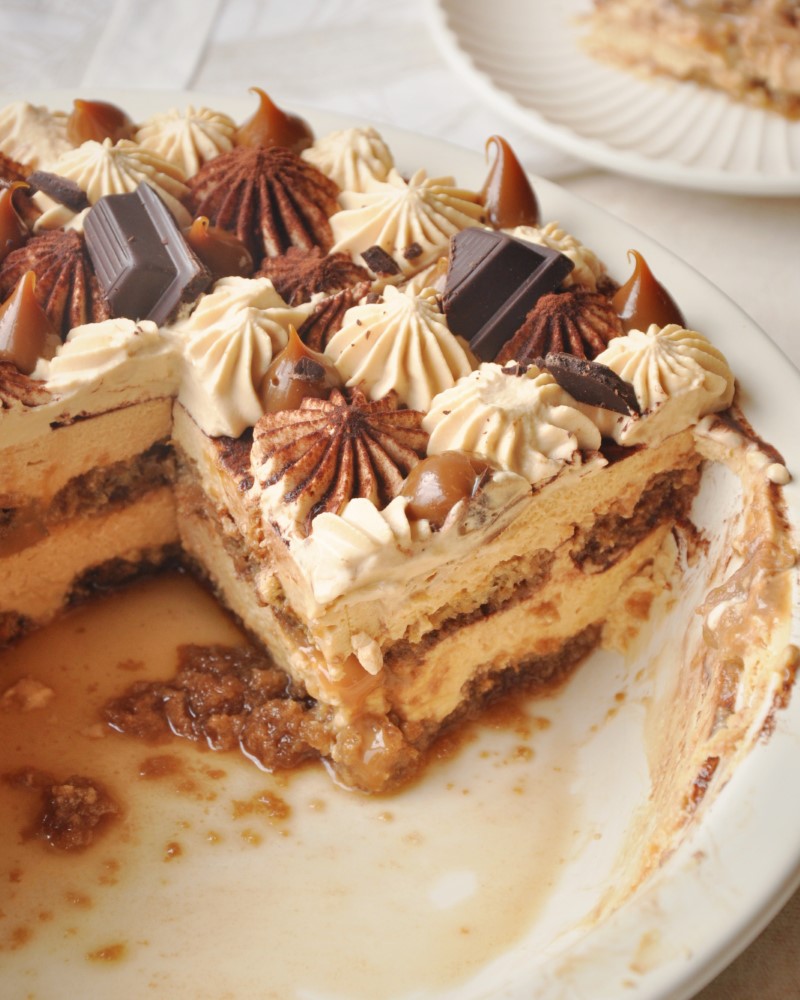
Original tiramisu doesn’t call for gelatin. In this case, I decided to make this dulce de leche tiramisu with gelatin. The reason is that dulce de leche mascarpone cream has a softer, and creamier consistency than the original. When we add gelatin, we make sure the cut will be neat, and we will see all the layers. But hey! Adding gelatin to a dessert doesn’t have to be complicated. Check out my tips below to learn how to use gelatin with success.
Can I skip the gelatin in this recipe?
The use of gelatin is recommended in this recipe, but skipping it is an option. Be aware the tiramisu servings will be less firm and more creamy. If you’re not using gelatin, make sure your tiramisu gets refrigerated for 12 hours or more. Also, it’s a good idea to build your tiramisu in cups or glasses for individual servings.
What kind of dulce de leche should I use for Tiramisu?
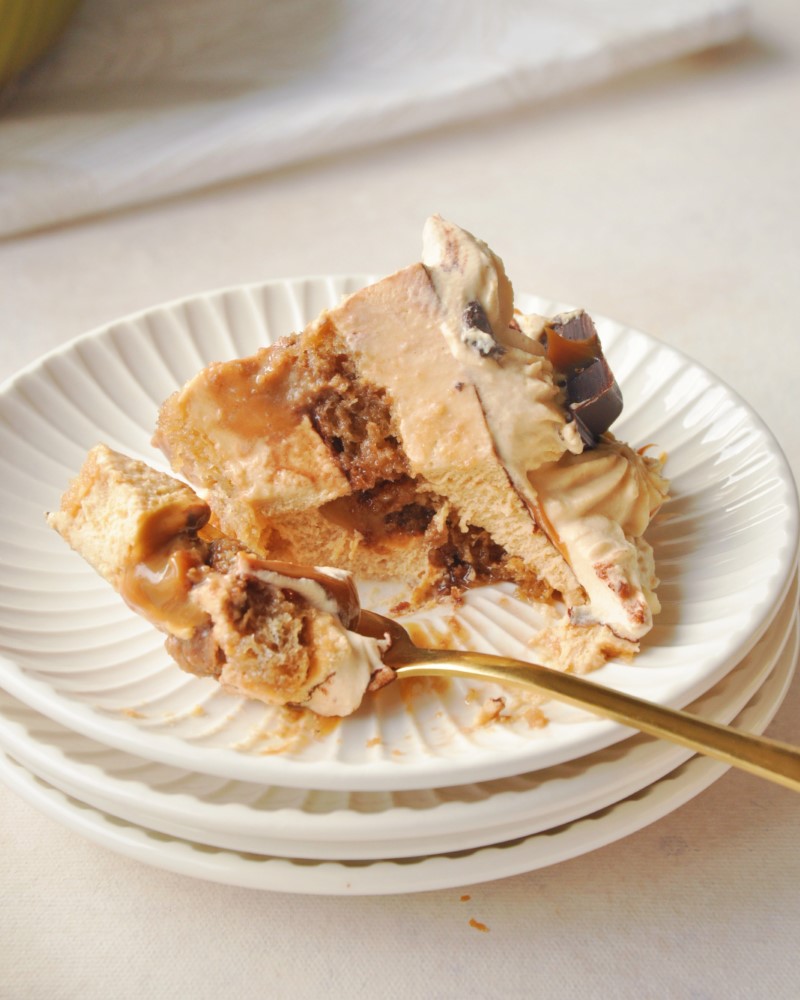
There are two types of dulce de leche in Argentina: Classic dulce de leche, with a lighter consistency, great for spreading. The other kind is thick dulce de leche, or baker’s dulce de leche, which we use to fill cakes and alfajores. For dulce de leche tiramisu, we use classic dulce de leche because we don’t need it to be firm, but we do want it to be silky and spreadable.
Classic dulce de leche is the one you commonly get at stores in North America. If you want to learn how to make dulce de leche at home, click here.
How to decorate Dulce de Leche Tiramisu
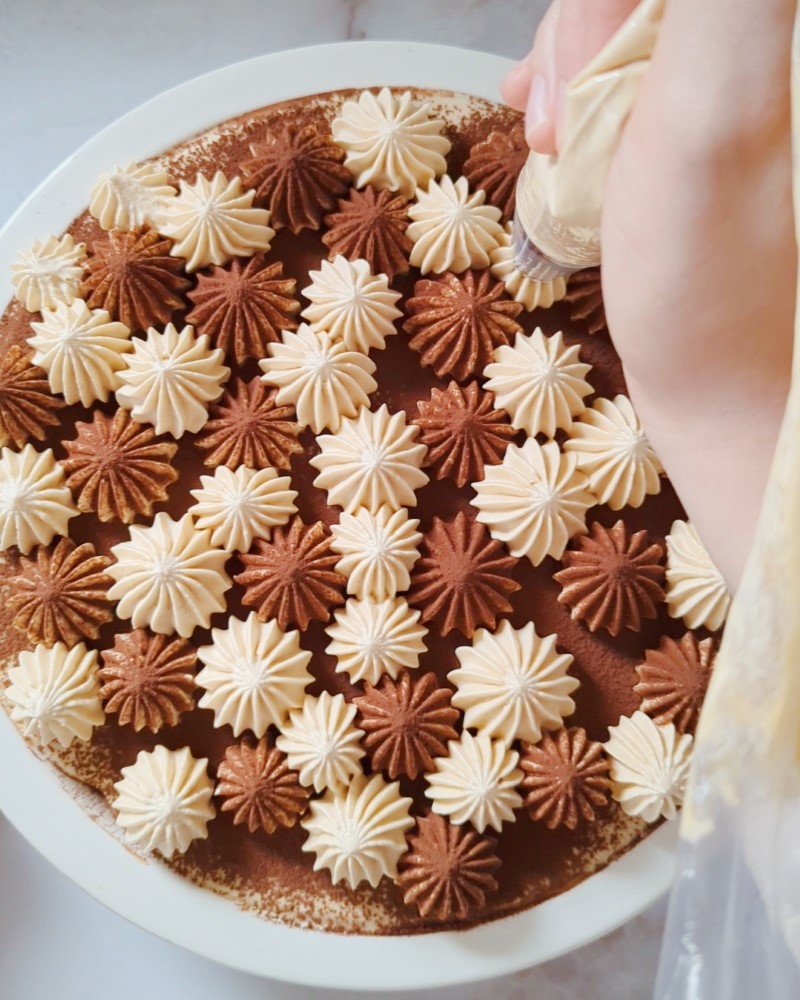
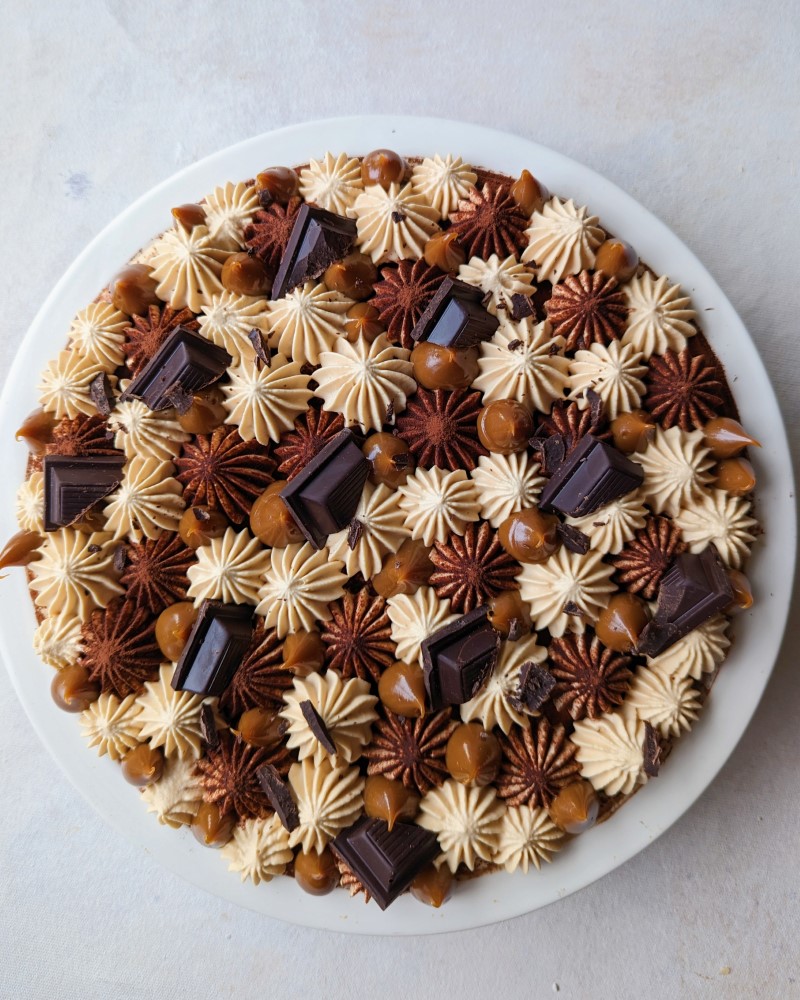
- Cream and dulce de leche dollops: I used dulce de leche whipped cream to make dollops on the tiramisu. First, I piped some dollops and sifted them with cocoa powder to create a different color. After that, I did the rest of the piping. To finish up, I piped some dulce de leche with a small round tip to create a third shade of color. I also added some chocolate chunks with espresso flavor.
- Classic decoration: If you prefer not to add extra cream, skip that part and finish it the usual way, sifting some cocoa powder and sprinkling chocolate curls on top.
Baker’s tips
How to incorporate gelatin into the cream
You can use the following method for any mousse or cream to avoid lumps of gelatin:
- Weigh the cold water in a medium-sized bowl. Mix in the gelatin with a fork or whisk until combined. Let the gelatin set in the fridge for approximately 10 minutes.
- Make the mascarpone cream as the recipe calls and set aside.
- Heat the gelatin in the microwave for 20 seconds, and add 5 seconds at a time if necessary. It should be warm or a little hot but should not boil.
- Add two large tablespoons of mascarpone cream to the gelatin. Mix quickly with a hand whisk until combined. Repeat this process two more times. We do this to temper our gelatin, and to avoid lumps of gelatin from forming.
- Fold in the gelatin and cream mixture with the rest of the cream slowly, with a silicone spatula, until combined.
Add extra dulce de leche
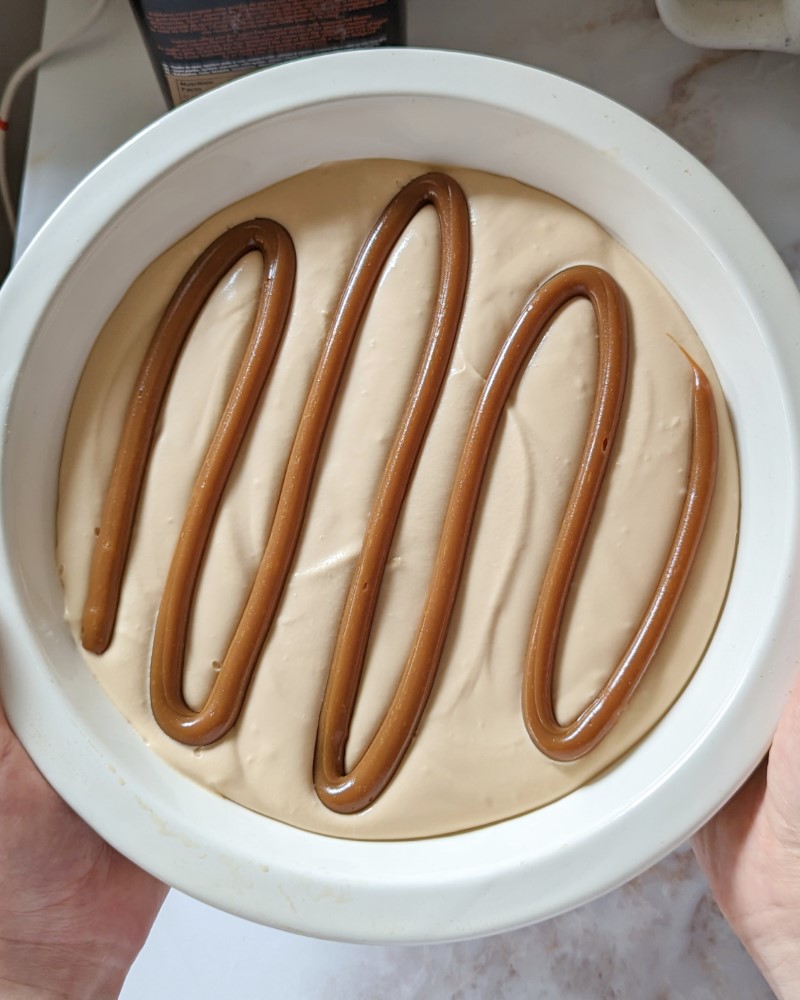
If you have a super sweet tooth or are into dulce de leche, add a drizzle of dulce de leche after the first layer of cream. Set a piping bag with a small round tip filled with dulce de leche and draw a zigzag over the cream. Keep the piping bag in the fridge to decorate the tiramisu later.
Make the tiramisu ahead of time
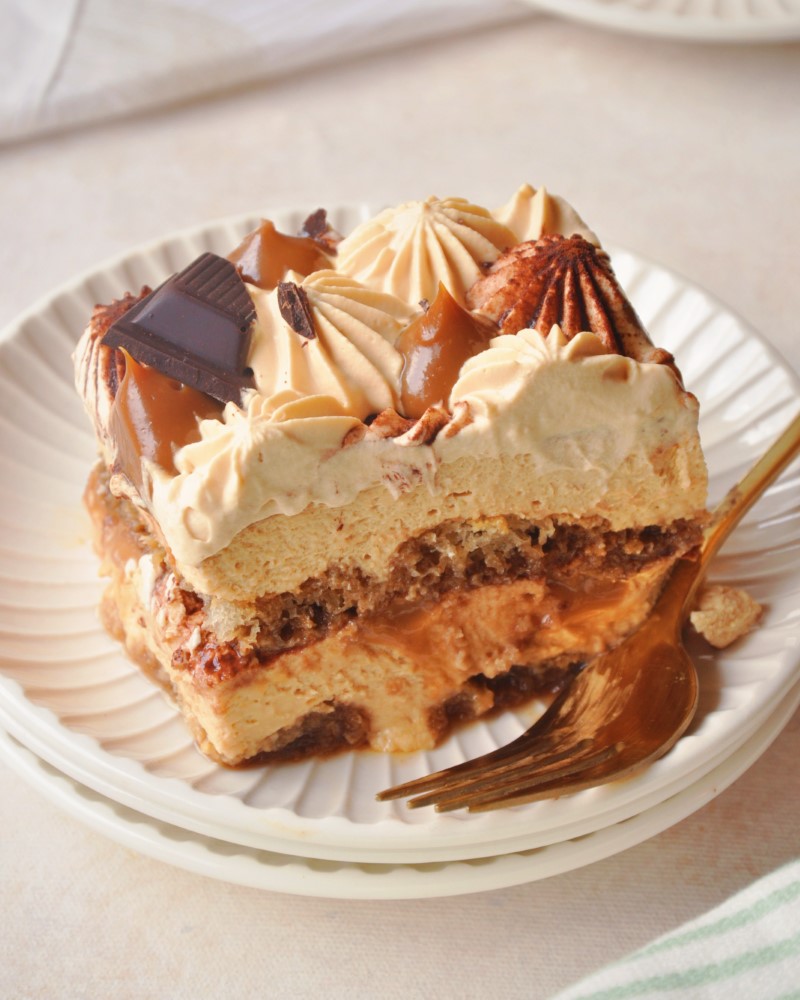
For the cream to set, it is key to make the tiramisu at least 4 hours in advance. However, the ideal refrigeration time is 8 to 12 hours before decorating and serving. That way, the temperature will be perfect when you serve it, and the flavors will set and combine.
Conservation of Dulce de Leche Tiramisu
Keep the tiramisu refrigerated and covered with a cake dome or in a cake box. Eat within a week.
Dulce de Leche Tiramisu
Ingredients
For the mascarpone dulce de leche cream:
- 7 g gelatin powder
- 50 ml cold water
- 250 g Mascarpone cheese or cream cheese
- 250 g Dulce de leche
- 320 g Whipping cream
- 1 tbsp Vanilla extract
For assembling:
- 400 ml strong coffee
- 40 g Sugar 3 tbsp
- 40 ml coffee liqueur optional
- 20-24 ladyfingers
- 2 tbsp Cocoa powder
For decorating:
- 100 g Dulce de leche for the cream
- 50 g Dulce de leche for the piping
- 200 g Whipping cream
- 1 tbsp Cocoa powder
- ¼ bar Chopped dark chocolate
Instructions
Syrup:
- Make the coffee very strong and dissolve the sugar in it. Add the liquor and mix. Let it warm before building the cake.

Mascarpone and dulce de leche cream:
- Mix the gelatin and water in a medium-sized bowl (microwave-safe). Let set in the fridge, for approximately 10 minutes.
- Whip the cream to soft peaks and set aside in the fridge.
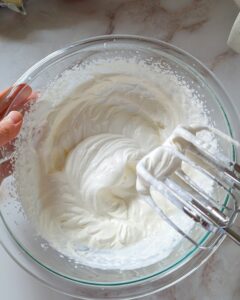
- In another bowl, beat the mascarpone with the dulce de leche, and the vanilla extract until combined. Use a stand mixer with a paddle attachment or a handled mixer.
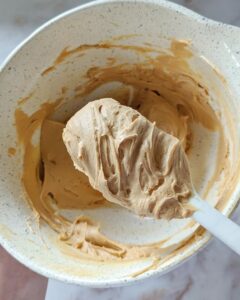
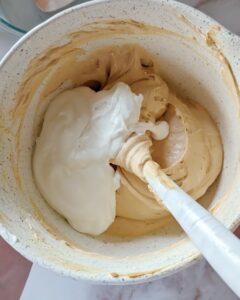
- Fold in the whipped cream in two parts slowly with a spatula.
- Heat the gelatin in the microwave for 20 seconds. Add 5 seconds at a time if necessary. It should be warm or just hot but should not boil.
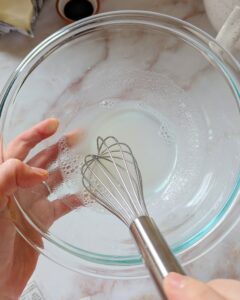
- Add two large tablespoons of dulce de leche cream to the gelatin. Mix quickly with a hand whisk until combined. Repeat this process two more times.
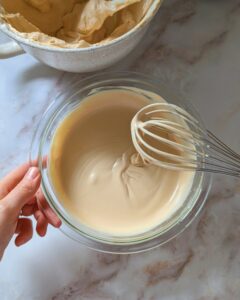
- Fold in the gelatin and cream mixture to the rest of the dulce de leche cream slowly with a spatula.
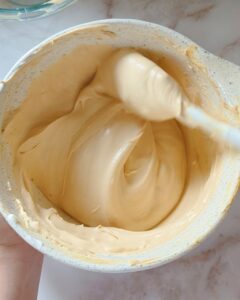
Assembly:
- Soak the ladyfingers in the coffee syrup, one by one, and place them at the base of a deep dish.

- Pour half of the dulce de leche cream and spread carefully. Draw a zigzag of dulce de leche with a piping bag with a round tip (Optional).
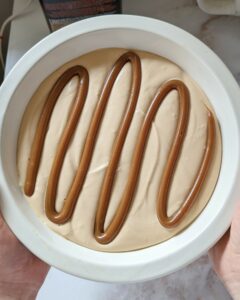
- Sprinkle cocoa powder over the cream.
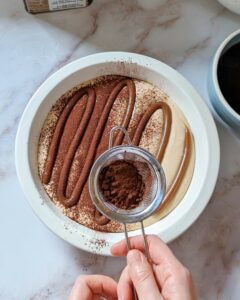
- Place another layer of ladyfingers soaked in the coffee and another layer of cream. Even out the last layer with an offset spatula.

- Refrigerate for at least 4 hours but ideally 8-12 hours.
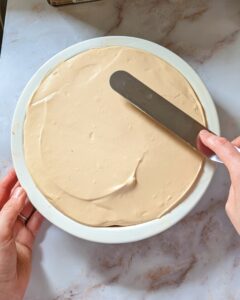
Decoration:
- Whip the dulce de leche and the whipping cream together with a mixer with a whisk attachment until stiff peaks form, and place in a piping bag with a star tip.
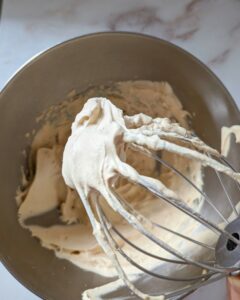
- Pipe kisses with the cream, leaving some space between each other. Dust cocoa powder over those dollops.

- Fill the remaining spaces with the rest of the cream without dusting any cocoa powder.

- With the same dulce de leche piping bag we used for the filling pipe small dollops here and there. Add chocolate curls or chunks.

- Leave refrigerated until serving time.




Thnx for sharing and really can’t wait for making this delicious desert.
Perfectly described and well told step by step.
Thank you 🙏🏼,
Grtz Lars
I’m glad you liked it! Let me know how it tuned out 🙂
Great cake, everyone loved it. Making it a second time. Question. Can I freeze it to keep it longer?
great cake, everyone loved it. was wondering if it can be freeze to keep for longer.
Hi Karl! I’m glad everyone loved it! Yes, you can freeze dulce de leche tiramisu. It would be a good idea not to over soak the ladyfingers because they can get a little runny after thawing. Cover it with plastic wrap and freeze for up to 3 months. Thaw it in the fridge overnight.
Yes! Cover it with plastic wrap and freeze for up to 3 months 🙂