This post features affiliate links, meaning we’ll earn a small commission if you purchase through these links.
Smooth, silky, creamy, and sweet, with that caramelized flavor, dulce de leche is a simple ingredient that goes well with anything. It is one of the most characteristic elements of baking in South America, especially in Argentina, where it’s easy to find in stores, and there is a wide variety depending on what you use it for.
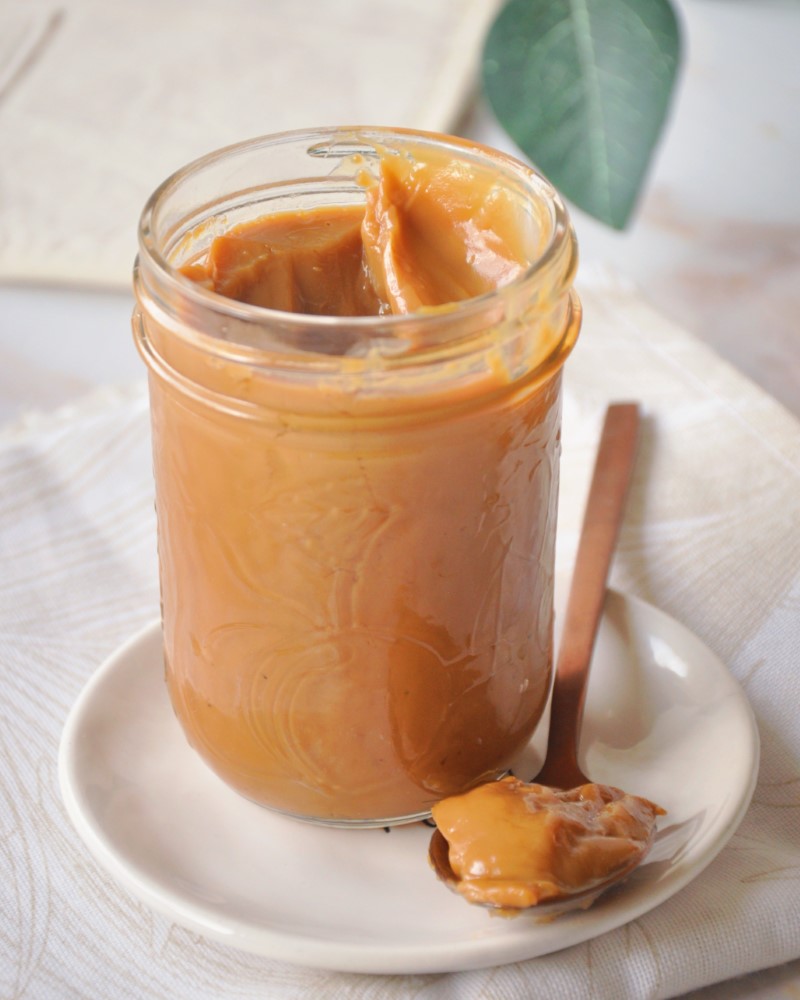
In North America, you can find it in the baking section of some grocery stores. There are different ways of making dulce de leche at home. Today, I want to share with you the method that I like, with sweetened condensed milk. As a person who tried a lot of brands and kinds of dulce de leche, I must say, condensed milk dulce de leche is not far from the real thing. It’s sweet, caramel-ey, and delicious. It has a lighter taste than the store-bought ones from Argentina.
To make the dulce de leche, we are going to cook the condensed milk in canning jars, boiling them until they get a toasted color and thick consistency. The usual way of making dulce de leche is by mixing milk and sugar on the stove for a couple of hours. The benefit of using sweetened condensed milk is that the procedure is easy and does not require too much effort.
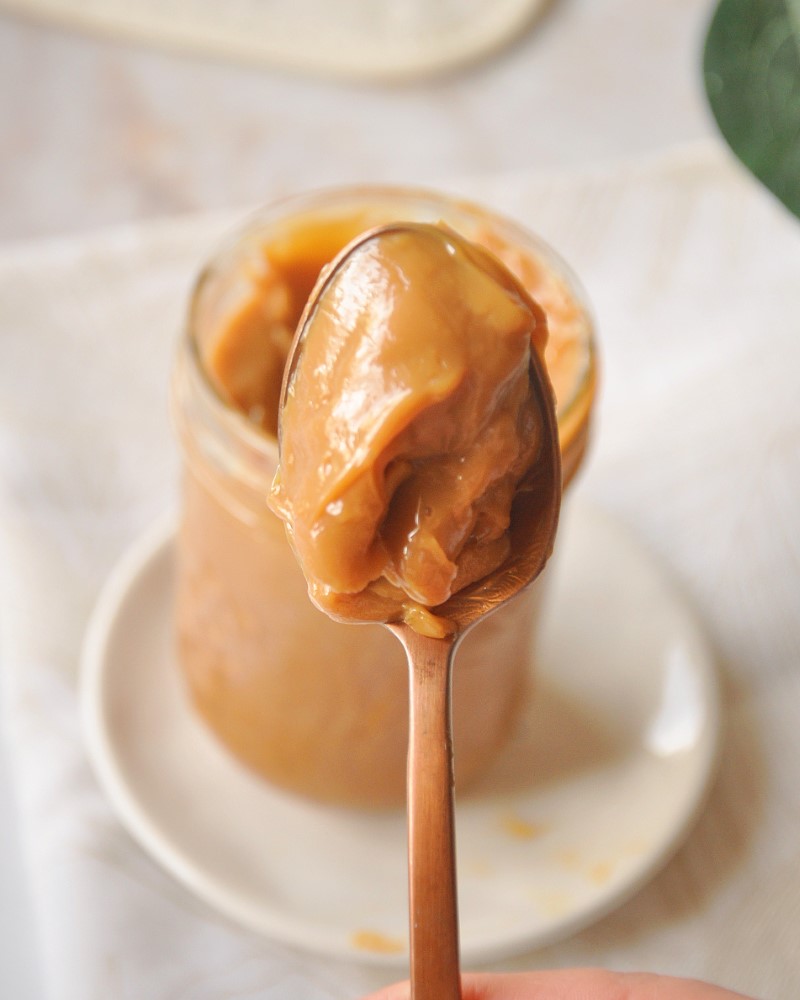
If you’re interested in making recipes with dulce de leche, you should try out my dulce de leche thumbprint cookies!
How to make dulce de leche?
These are roughly the steps we’re going to follow to make dulce de leche at home (IMPORTANT: read the full recipe to learn about safety measures)
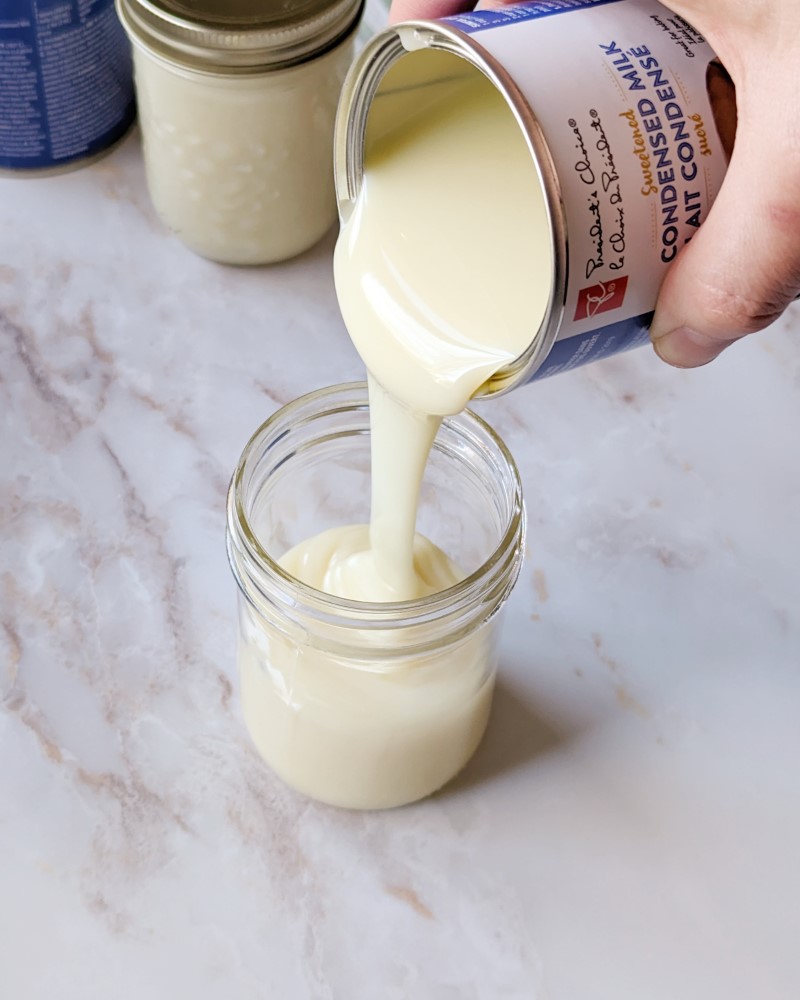
- Wash the jars and fill them with the condensed milk
- Boil them for 3 hours on low heat
- Let cool in the water
- Use or save
Getting the right consistency
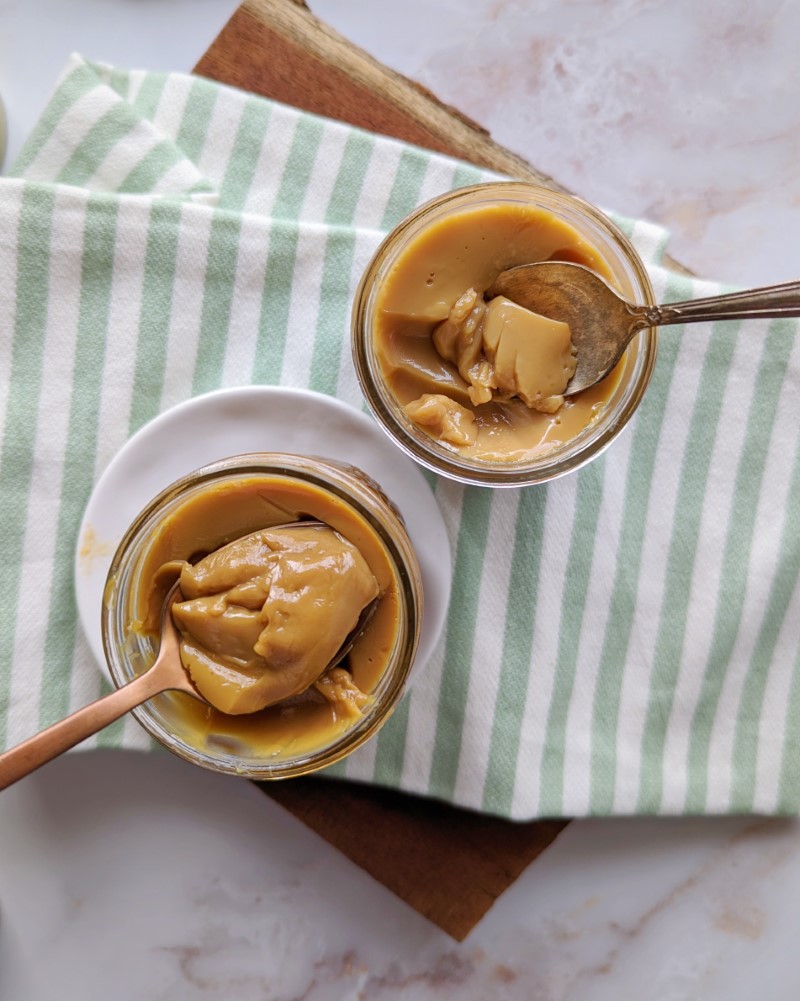
In Argentina, the classic dulce de leche has a slightly fluid consistency. Thick dulce de leche, or dulce de leche for baking, is firmer and great for filling cakes, alfajores, and tarts. It’s also better for baking. The longer we cook dulce de leche, the firmer it will be. Here’s a quick guide to learning about cooking time according to the desired thickness:
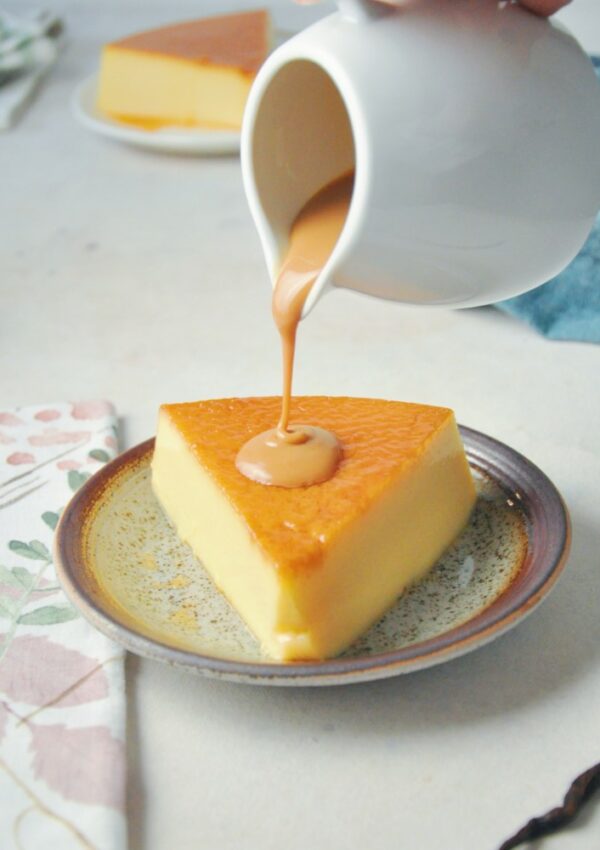
- 2 ½ to 3 hours of cooking time: Light and liquid dulce de leche, can be used as a sauce to pair with flans, ice cream, brownies, and other desserts.
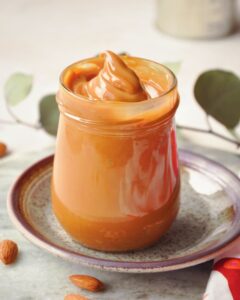
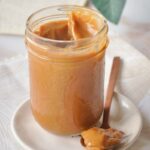
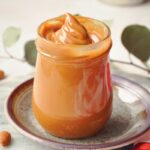
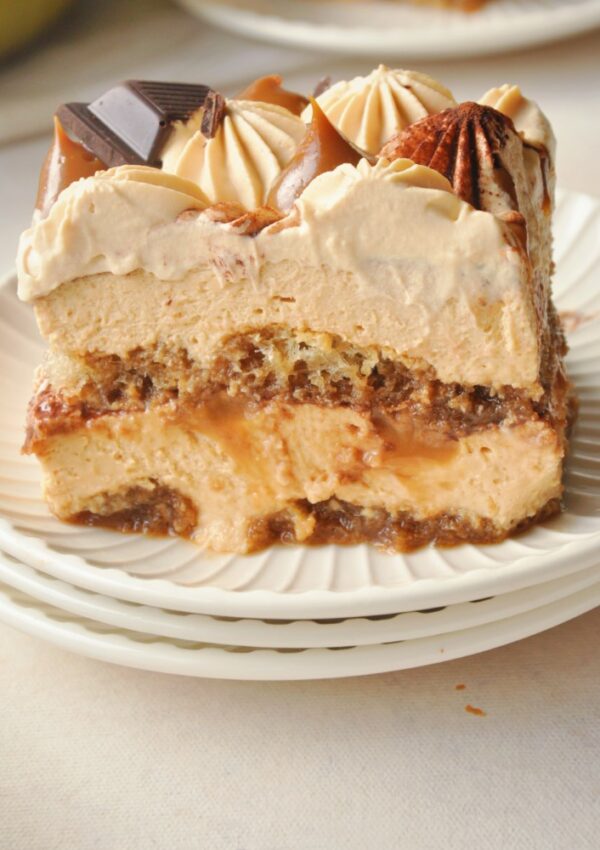
- 3 to 3 ½ hours of cooking time: Light brown color, a little firmer. Similar to the classic dulce de leche in Argentina. It can be used for spreading on toast, making creams and mousses, as a filling for some cakes, and as a side for desserts.
- 3 ½ to 4 hours of cooking time: Dark and firm dulce de leche, similar to baking dulce de leche in Argentina. It is used to fill alfajores, cakes, and tarts. It can be used to pipe decorations.
What is the traditional way of making dulce de leche?
Dulce de leche consists of a reduction of two simple ingredients: milk and sugar. The two are combined and heated over low heat until the sugar caramelizes and the mixture thickens. This process can take around 3 hours and you need to stir constantly to avoid it from sticking to the pot. The benefit of this technique is that you can use other kinds of milk. Also, the amount of sugar can be adjusted.
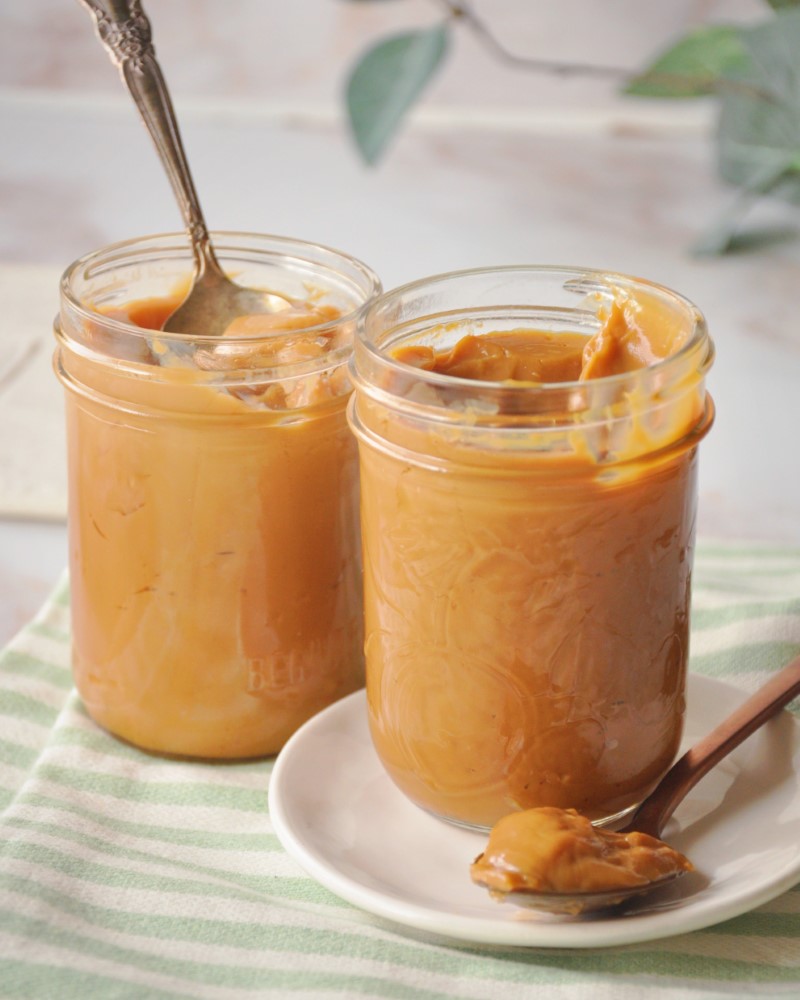
Other methods for making dulce de leche
- Baked on a bain-Marie: Place sweetened condensed milk on a heat-resistant deep dish, covered with tin foil, and bake in a bain-marie for approximately 2 ½ hours. With this method, it can come out a little lumpy so you have to whisk it or blend it to make it smooth. (See recipe below).
- Cook in a pressure cooker in slow cook mode: Open the can of sweetened condensed milk and pour it into the pressure cooker. Cover and cook with the vent open for approximately 2 1/2 hours. (See detailed instructions below).
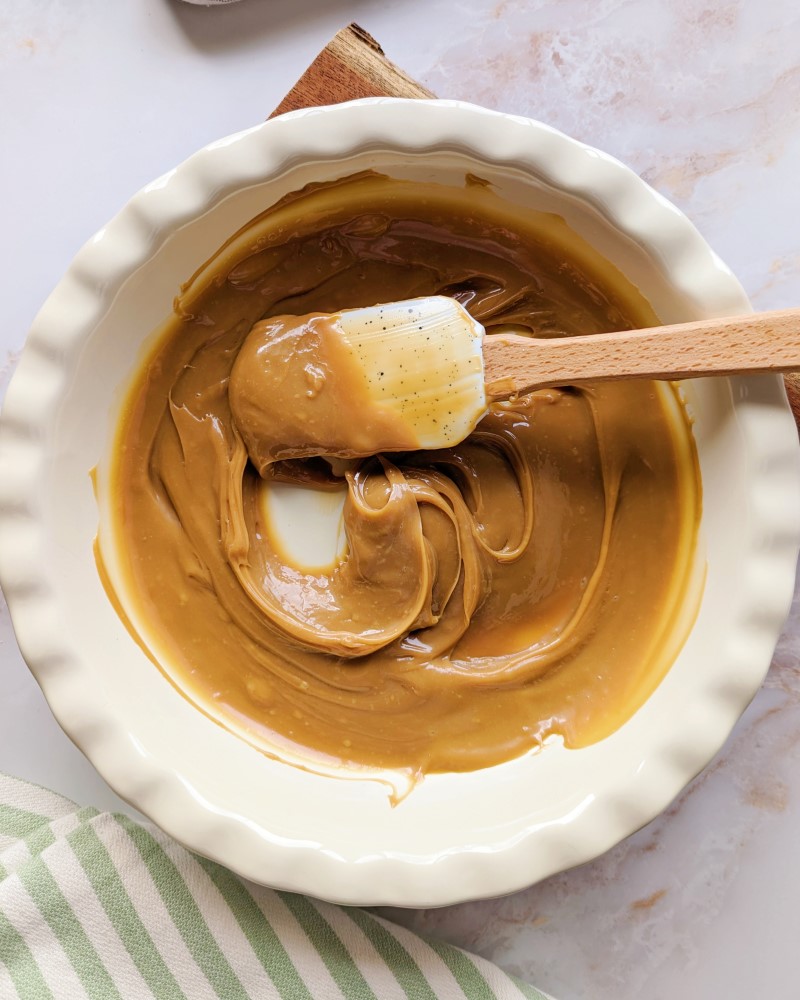
Is it safe to boil cans of condensed milk?
There are a few ways to make dulce de leche inside the can of condensed milk, either by boiling the can in a pot on the stove or a pressure cooker. Until recently, I was using the method of boiling the cans. After a lot of research, I realized the risks that come along when using this method. It is not safe to boil cans of condensed milk for two reasons:
- Risk of explosion: when the water is reduced after evaporation, and if the cans get exposed to air, there is a risk that the can will burst because of the pressure. This can cause burns and injuries.
- Toxic chemicals: When we heat canned food, the materials those cans are made of can release harmful chemicals. At the same time, the inner lining of the cans may contain BPA (a harmful compound) which is transferred to the food when it is heated. For more info check the source here.
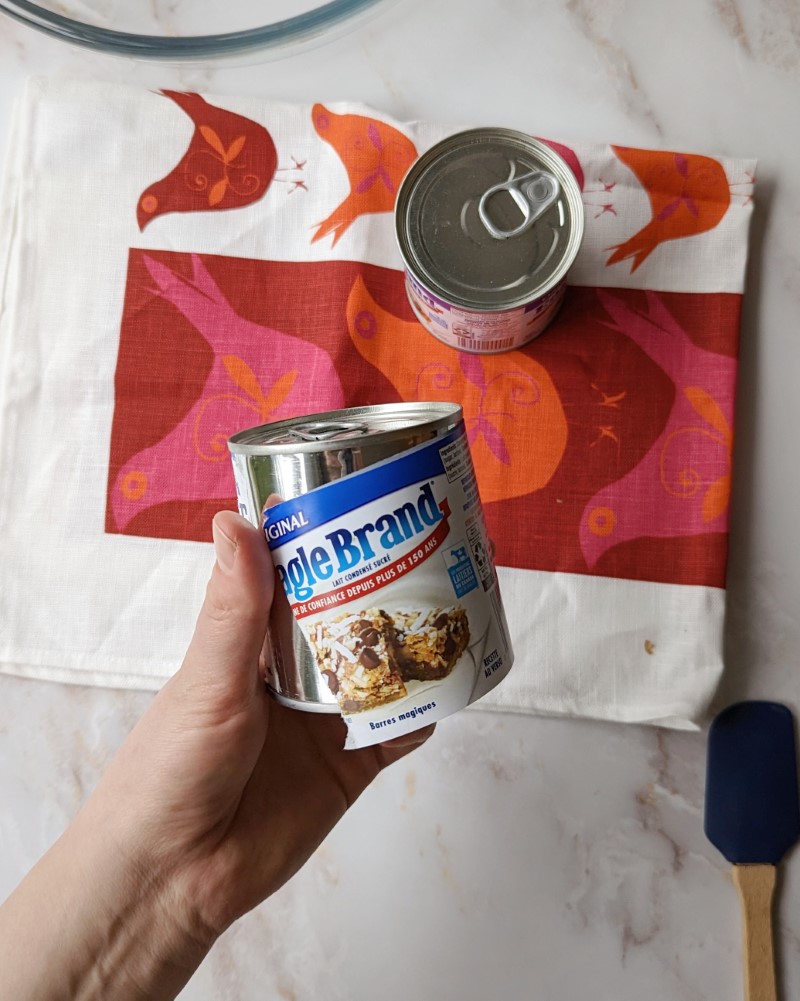
Choosing the right jars
It is important to use jars that aren’t cracked or damaged. Their lids must provide a hermetic seal. They also have to be thoroughly washed before use. I use only canning jars for this recipe (with a lid and a ring). I can only recommend this kind of jar since they’re the only ones I’m certain will stand the heat for a long period of time. You can find them here.
Are we canning dulce de leche with this method?
We are indeed using the canning method to cook the condensed milk. In fact, you may find the lid seals after cooking, the same way it would happen with canned jam. Even if that’s the case, this dulce de leche shouldn’t be considered a canned product since condensed milk requires other treatments to be properly canned or sealed. Follow the storing instructions for safe consumption.
Baker’s Tips
How to avoid scratches and noises during cooking?
To prevent scratches, especially if using a delicate material pot, place a white cotton cloth on the bottom of the pot on which the jars will sit. That way, we prevent the pot from scratching with the jar’s movement when they’re boiling. It will also avoid the jars from making too much noise.
Cool completely before opening
To avoid burns, it is crucial to let the jars warm in the water. After that, store in the refrigerator until ready to use. Do not open the jars while they’re hot.
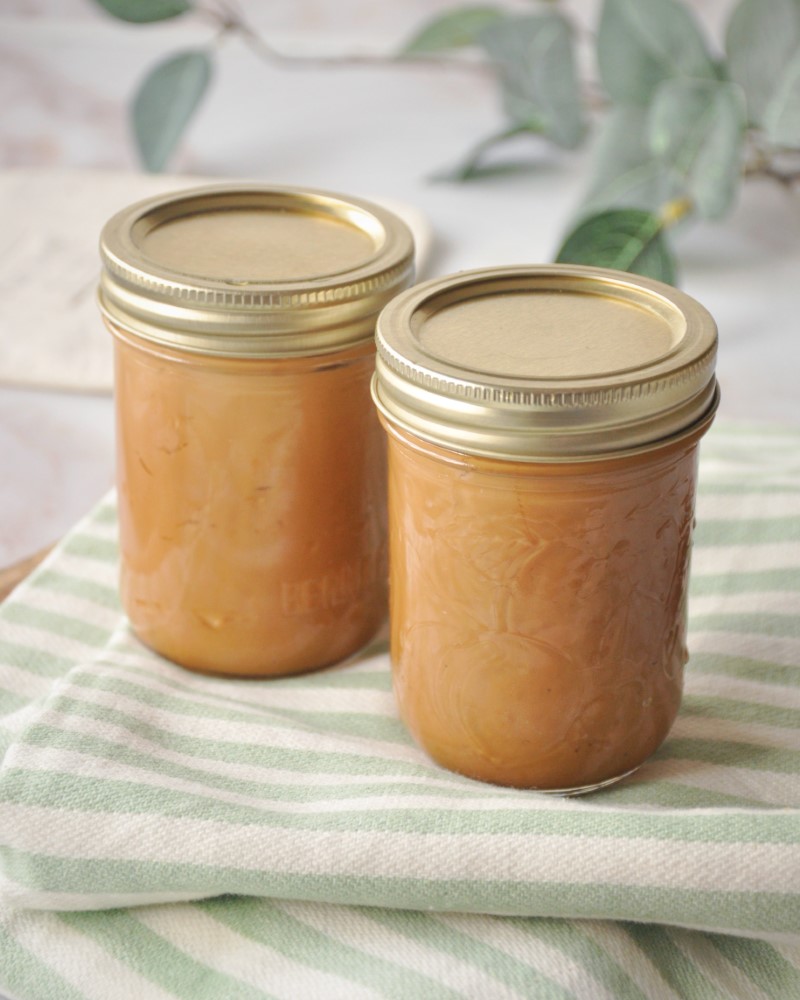
Conservation of dulce de leche
This dulce de leche should be kept covered and refrigerated for up to 3 weeks.
How many jars can I cook at the same time?
You can cook many jars at once, in fact, as many as you can fit in your pot. Just check for them not being so close to each other.
Homemade Dulce de Leche (with canning jars)
Ingredients
- 1 can of sweetened condensed milk or as many as you can fit in your pot
Instructions
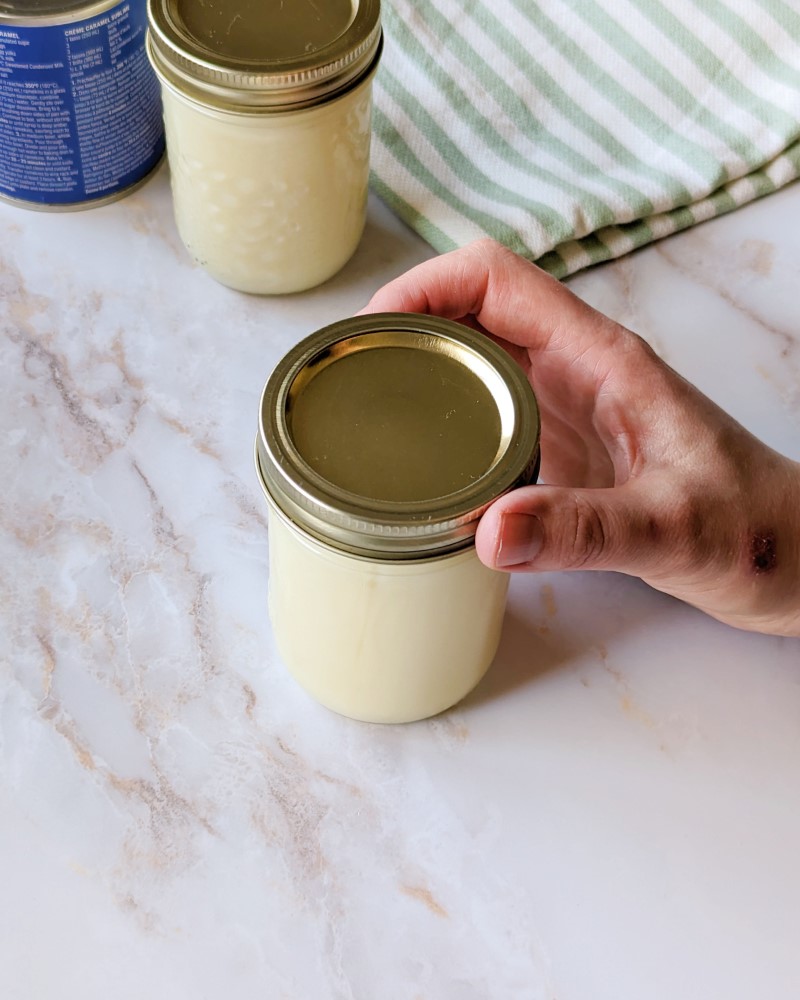
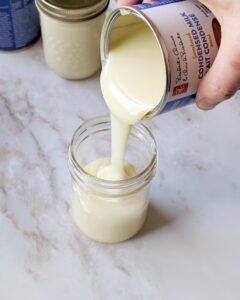
- Wash the jar in the dishwasher or with hot, soapy water. Allow to dry and fill it with the sweetened condensed milk until reaching the lid line (leave ½ inch of headspace). A can of condensed milk fits in a 250ml jar. You’ll end up with a little extra that can be used for other recipes or more dulce de leche. Close the jar with its lid.
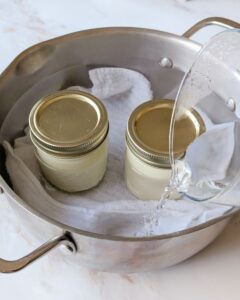
- In a large pot place a white cotton cloth. Place the jar on the cloth and fill the pot with water up to where the condensed milk line is.
- Bring to medium heat and when it comes to a boil, lower the heat to get it to a constant simmer.
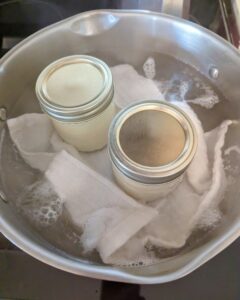
- Set a timer for half an hour to fill the pot with hot water as it evaporates. Repeat the operation until reaching the cooking time. Boil for 2 ½ to 3 ½ hours for a more liquid and clear dulce de leche. Boil for 3 ½ to 4 hours for a firmer, darker dulce de leche.
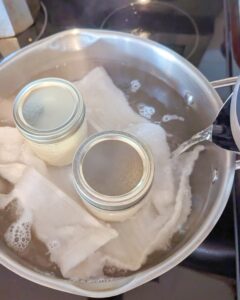
- Turn off the burner and leave the jar in the pot until the water is lukewarm. Remove carefully and store refrigerated until ready to use.
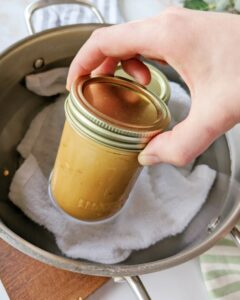
- Store in the refrigerator for up to 3 weeks.
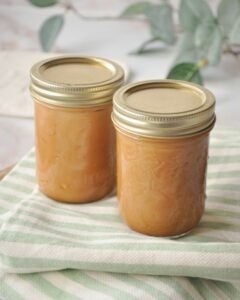
Dulce de Leche in the oven (on Bain-Marie)
Ingredients
- 1 can of sweetened condensed milk
Instructions
- Open the can of sweetened condensed milk and pour it onto an oven-safe deep dish. Place a cotton cloth on the base of a tall baking tray. Then put the dish with condensed milk inside the bigger tray, sitting on the cloth.
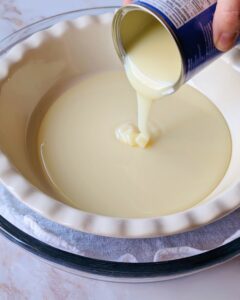
- Cover the dish with tin foil, securing the edges.
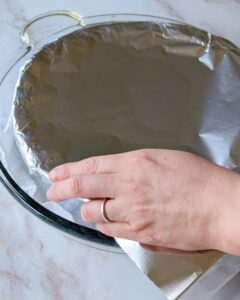
- Fill the bottom tray with hot water. It’s better to pour the water when the tray is in the oven to avoid getting burned when transferring the tray.
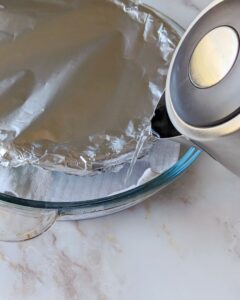
- Bake in a preheated oven at 180°C (350°F). Set a timer for one hour. After that time, remove from the oven and mix with a spatula. Cover again and put back in the oven. Mix the dulce de leche every half hour. Check the water level every so often, and refill with more hot water as needed.
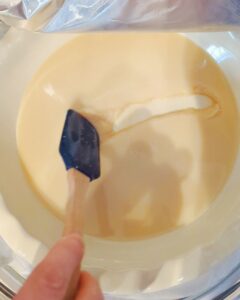
- Cook for 2 hours for a more liquid and clear dulce de leche. Cook for 3 hours for a darker, firmer dulce de leche.
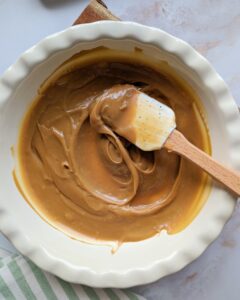
- Once the final time has passed, remove the dish from the oven and leave them for a few minutes to warm up. Blend the dulce de leche with an immersion blender to get rid of lumps. Otherwise, it can be strained or mixed vigorously with a hand whisk.

- Store in a clean, airtight container. Store refrigerated for up to 3 weeks.

Notes
Dulce de Leche in the Instant Pot
Ingredients
- 1 can of condensed milk
Instructions
- Wash the Instant Pot with hot water soapy water, and dry thoroughly. Remove the sealing ring from the lid, to avoid contaminating the condensed milk with odors (we will not need it since we aren’t going to cook with pressure).
- Open the can of sweetened condensed milk and pour it into the pot. Cover with the lid and press the venting button to release the steam while cooking. Press the slow cook button on normal power, and change the time to 30 minutes.
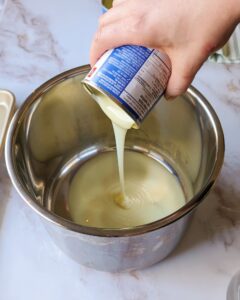
- When the timer goes off, remove the lid and mix with a spatula, always leaving an even layer of condensed milk on the bottom of the pot. Repeat the operation in periods of half an hour, mixing each time. Don’t forget to open the vent on the lid.
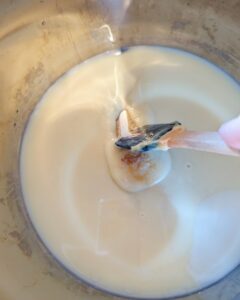
- Cook for 2 ½ hours for a more liquid and clear dulce de leche. Cook for 3 hours for a darker, firmer dulce de leche.
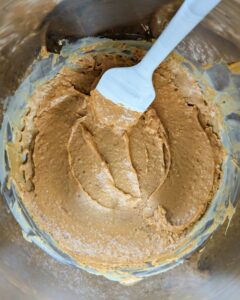
- Once the cooking time was reached, remove the pot from the base and allow it to warm up for a few minutes. Blend the dulce de leche with an immersion blender to get rid of lumps. Otherwise, it can be strained or mixed vigorously with a hand whisk.

- Store in a clean, airtight container. Store refrigerated for up to 3 weeks.



I loved eating this when I lived in Peru some 50 years ago and learned how to make it then. After returning to the states, we continued to make it until one day one of the cans exploded (fully covered with water) all over the ceiling, stove, counters, and floor. Thank goodness nobody was in the kitchen at the time. I have since learned that others have had similar experiences.
Nobody wants to hear this, but I implore you to take care.
Hi Virginia! Thanks for your comment. I wanted to let you know that I’ve been doing some research about the cans boiling method. The little I could find (there’s not a lot of information out there) was that there’s risk of explosion and also there’s a chance the chemicals in the cans may transfer to the food. Thus, I decided to update my recipe, and changed it for the canning jars, which is a safe way to do it. I’ve reached the company that makes jars and they’ve let me know it’s safe to boil condensed milk in the jars for 3 to 4 hours. I’ve also included two more methods that are safe to use at home. Hope this helps!